Ingredients
Equipment
Method
- Step 1: The Sponge Cake Base: First, separate the eggs. Place the egg whites with the pinch of salt in your stand mixer (or use a hand mixer) and beat on the highest speed until very stiff. The egg whites should form firm peaks. Now slowly drizzle in the extra fine sugar and vanilla sugar while continuing to beat. Beat until the mixture is glossy and creamy. Now beat in the egg yolks one by one, beating only briefly until just combined.
- Step 2: In a separate bowl, mix the flour, cornstarch, pudding powder, and baking powder. Sift this dry mixture over the egg foam mass. Now be careful! Gently and loosely fold the flour mixture into the egg foam mass by hand with a whisk or spatula. Do not stir or beat, otherwise the air will escape!
- Step 3: Stretch a piece of reusable baking liner or parchment paper under a cake ring (26 cm diameter) and place it on a baking rack. Pour the sponge cake batter into it and spread it evenly. Bake the sponge cake in the preheated oven at 190°C (upper/lower heat) for approx. 30 minutes. Do the skewer test! Then let the base cool completely. It is best if you bake the sponge cake the day before, then it can be cut easily.
- Step 4: Prepare the Soak: While the sponge cake is cooling (or the day before), put the milk, sugar, and cocoa powder in a small pot and bring everything briefly to a boil. Remove the pot from the heat and stir in the cold espresso (or coffee) and the dash of Amaretto. Set the soak aside and let it cool completely. It must be really cold when you soak the sponge cake!
- Step 5: Mix the Cream: Put Mascarpone, Quark, fine sugar, and vanilla sugar in a bowl. Mix everything with a hand mixer or whisk until a nice, creamy consistency is achieved and the sugar has dissolved. Set the bowl aside briefly.
- Step 6: In another bowl, beat the well-chilled cream with the cream stabilizer until very stiff. Now gently fold the whipped cream into the Mascarpone-Quark mixture in portions. Then briefly stir in the dash of Amaretto and the eggnog liqueur (if used). I like to take a small spoonful of this un-shaved cream and set it aside for later decoration – this works better in a piping bag. Then gently fold the chocolate shavings into the remaining cream.
- Step 7: Now it's time to layer! Carefully cut the cooled sponge cake base into three equally thick layers with a long knife or a cake leveler. Place the bottom layer on a cake plate or serving plate and place a flexible cake ring or the cleaned cake ring around it again. Drizzle the first layer evenly with one-third of the cold soak. Then spread just under half of the prepared cream on top and smooth it out.
- Step 8: Place the second sponge cake layer on top and also drizzle it with one-third of the soak. Spread the remaining cream (except for a small amount for the edge) on top. Place the third sponge cake layer on the last cream layer and also drizzle it with the remaining soak.
- Step 9: Now place the cake in the refrigerator for at least 3 hours, but preferably longer (or overnight). The cake must cool down and firm up properly so that it is stable when cut and the flavors can combine.
- Step 10: The Finish: When the cake is well chilled, carefully release the cake ring. Spread the remaining cream thinly around the edge of the cake. Carefully press the 50 g chocolate shavings onto the cake edge so that it is completely covered.
- Step 11: Take a fine sieve and generously dust the surface of the cake with unsweetened cocoa powder.
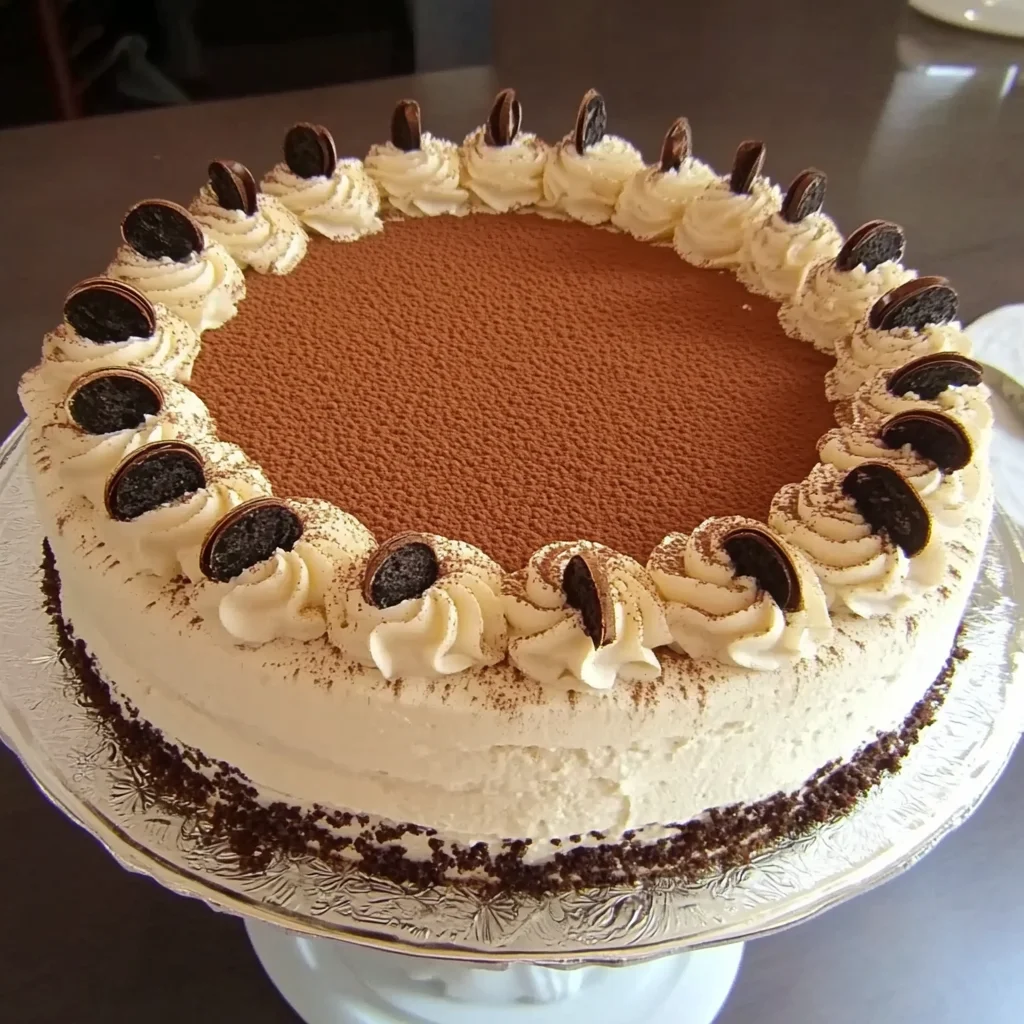
- Step 12: The Decoration: Fill the reserved cream (the one without chocolate shavings) into a piping bag with a star tip. Pipe 16 uniform rosettes around the surface of the cake. Decorate the rosettes or the spaces between them as desired with the chocolate zebra rolls or other chocolate.
- Step 13: Your wonderful Tiramisu cake is ready!
Notes
Variations & Ideas: For an alcohol-free version, simply omit the Amaretto and eggnog liqueur. Add a touch of vanilla extract or some orange juice to the soak and cream instead. For coffee alternatives, strong filter coffee works if you don't have espresso. For a milder version, use decaf coffee. Try chopped white chocolate in the cream for a different taste or use milk chocolate shavings. Some like a hint of orange zest or a few berries (e.g., raspberries) between the layers – this is not classic Tiramisu, but delicious!
Tips for a Perfect Cake: Make sure to fold the dry ingredients in very carefully so the sponge cake stays airy. The coffee mixture MUST be cold, otherwise the sponge cake will soak up too much and become mushy. Do not overbeat the cream; just stiff enough. If you beat it for too long, the cream can curdle later. Patience pays off: The chilling time is crucial! Plan enough time for the cake to set well and for the flavors to fully develop. Preparation: Bake the sponge cake base the day before. This makes cutting much easier and cleaner. You can also prepare the soak in advance.
Storage: Your Tiramisu cake keeps well covered in the refrigerator for 2-3 days. It often tastes even better after it has had time to soak through! It is best to store it in a cake box so it doesn't pick up refrigerator odors.