Ingredients
Equipment
Method
- Step 1: Preparation is key: Take your springform (18 cm), lightly grease the bottom, and place a piece of baking paper on it. Little tip: If you crumple the paper once before clamping it and then smooth it out again, it will lie better in the form. Preheat your oven. 180°C is perfect for top/bottom heat, 160°C for fan heat.
- Step 2: The dough magic: Roughly chop the 25 g chocolate. In a large bowl, mix the flour, baking powder, and cocoa. Now add all other dough ingredients (margarine, agave syrup, soy milk, salt) – BUT keep the chopped chocolate out for now! Use your mixer with whisk attachments and mix briefly on the lowest speed, then for 2 minutes on the highest speed to a smooth batter. Now only briefly stir in the chopped chocolate. Spread the batter evenly in the prepared springform. Put it on the rack in the middle of the preheated oven. Baking time is approx. 25 minutes. It's best to do the skewer test – if no liquid batter sticks to it, it's perfect. Take the cake out of the form, carefully invert it onto a wire rack lined with baking paper, and let it cool completely. Patience is required here!
- Step 3: The irresistible peanut caramel: While your cake cools, start on the filling. Put the 150 g agave syrup in a pan and heat it on the highest setting. As soon as it bubbles, add the 75 g margarine and let it melt while stirring. Pour in the 75 ml soy milk and let everything simmer under occasional stirring for at least 2 minutes until it thickens. It should become a nice, thick mass. Remove the pan from the heat and stir in the roasted, salted peanuts. Let the caramel cool down a bit – it will become a bit firmer as it cools.
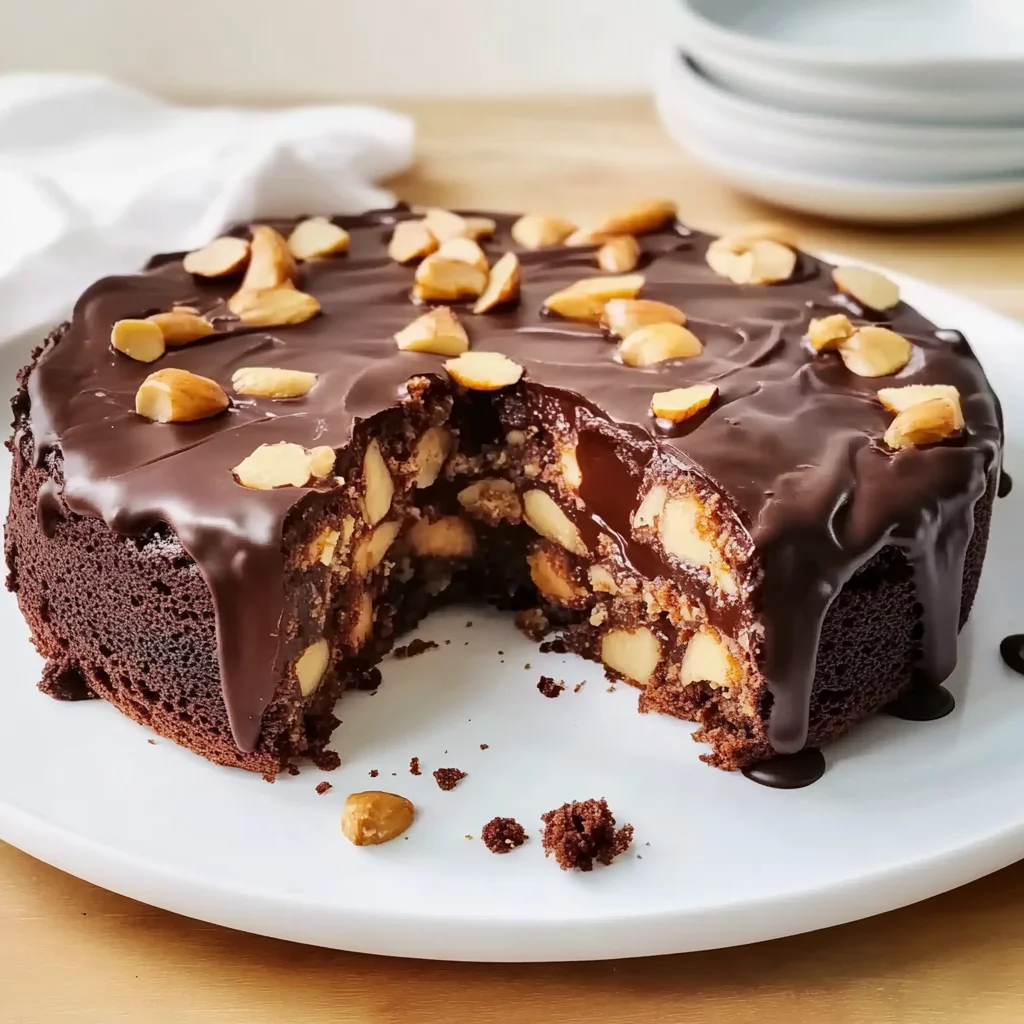
- Step 4: The big moment: Layering! When the cake is completely cold, peel off the baking paper from the bottom. Take a long, sharp knife and cut the cake horizontally in the middle. Place the bottom layer on a cake plate. Now place a cake ring or the cleaned rim of your springform back around the bottom layer. Pour in the slightly cooled peanut caramel and spread it evenly. Carefully place the upper cake layer on top. It's best to put the cake in the fridge for a while now so that the peanut caramel filling can really set. This takes about 30-60 minutes.
- Step 5: The glossy finale: When the filling is firm, remove the cake ring. Finely chop the chocolate for the glaze. Put it together with the 2 tbsp agave syrup and the 1 tbsp soy milk in a heatproof bowl over a pot of gently simmering water (water bath). Let everything melt slowly while stirring until a smooth, glossy glaze is formed. Remove the bowl from the water bath, stir well again, and quickly spread the glaze over the cake. Let it run down the sides, that looks great! If you like, you can quickly sprinkle a few chopped peanuts or some sea salt flakes over the wet glaze now.
Notes
Swap Ideas & Extra Treats: Sweetener: Instead of agave syrup, you can also use maple syrup or rice syrup. This slightly changes the taste but is also super delicious! Plant drink: Soy milk fits well, but oat, almond, or cashew milk work just as well. Just take your favorite. Nuts: You don't like peanuts (then this recipe is perhaps not the first one you bake 😉)? You could also try the principle with cashews, almonds, or hazelnuts, but would probably have to specifically look for salted nuts or make salted nuts yourself. Or you can omit the nuts and make a pure vegan caramel filling! Extra chocolate kick: Why not stir a few extra vegan chocolate drops into the batter or sprinkle them over the caramel before the lid goes on. Salt love: A pinch of Fleur de Sel or sea salt flakes on the finished glaze wonderfully enhances the flavor again!
My Best Tips for Your Cake Success: Don't overmix the batter: As soon as the ingredients for the batter are combined and you've stirred in the chocolate, stop mixing. Otherwise, it could become tough. Simmer the caramel: Really give the caramel mass the 2 minutes cooking time after adding the soy milk. This helps it to firm up later. But be careful not to burn it! Let the caramel cool: Don't pour the peanut caramel mass boiling hot onto the cake layer. Let it cool briefly until it is still easily spreadable but no longer steaming. Patience with cooling: The step with chilling the filled cake is important so that the filling gains stability and you can easily remove the cake ring. Melting in a water bath: Chocolate melts best slowly and gently in a water bath. This way it doesn't burn and becomes nice and smooth. Make sure no water gets into the chocolate.
Storage: This cake keeps well. It is best to store it in an airtight container in the fridge. It will stay moist and delicious there for 3-4 days. Due to the caramel filling, it prefers to be cool rather than at room temperature, otherwise the filling becomes very soft.